 Sage.Education
Introduction
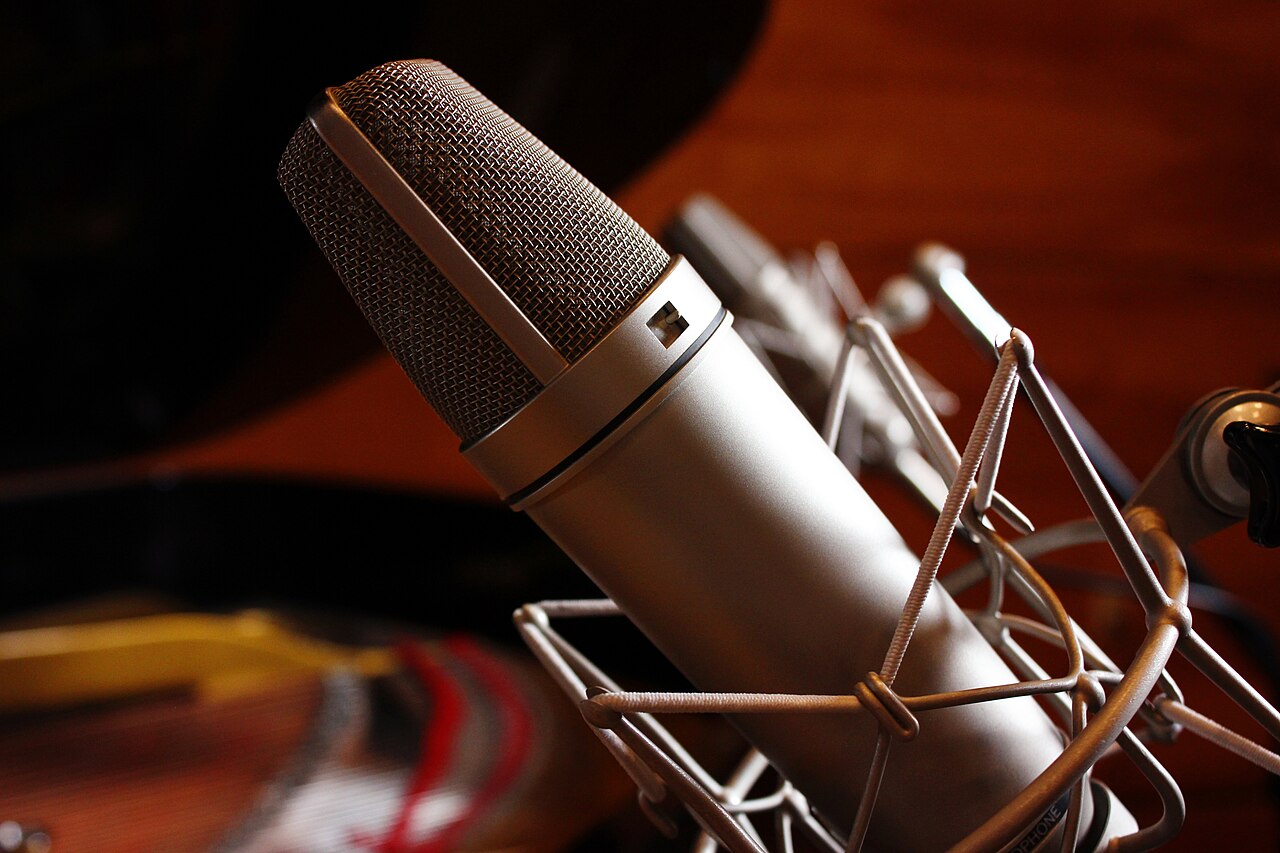
This curriculum teaches you to compose music by writing code. The instrument is Snap!, a visual programming language. You start with single notes. You end by building a program that generates an entire album.
The approach has a name: algorithmic composition, sometimes called generative music. Rather than writing every note by hand, you define rules, patterns, and controlled randomness, then let the computer produce sequences of notes, rhythms, and harmonies. The results range from simple melodies to complex, evolving soundscapes, and no two performances are exactly alike.
According to Brian Eno, the ambient composer who coined the term "generative music" in 1995, the goal behind Music for Airports was to create something "made endless" (GenerativeMusic.com). John Cage explored chance-based composition decades earlier, using the I Ching to determine note sequences in his 1951 piece Music of Changes. Hans Zimmer's team built an Inception app that merged the listener's ambient surroundings with his film score to create a dreamy, never-repeating soundscape.
Video games brought procedural music to a mass audience. Unlike a film, where the soundtrack is fixed to the edit, a game is nonlinear: the player's actions change the pace and environment, so the music must respond. Untitled Goose Game (2019) uses an interactive score built on Claude Debussy's piano Preludes: the game engine selects and layers prerecorded piano phrases based on the goose's behavior (EGM), so the soundtrack functions like a live accompanist improvising along with the slapstick.
These examples share a common principle: code and music reinforce each other. This curriculum puts that principle in your hands.
Acknowledgements
Brian Harvey, a professor emeritus at UC Berkeley, and Jens Mönig, a developer at SAP, created Snap! by bringing the power of the Scheme programming language into a Scratch-like visual environment. Harvey and Mönig received the 2020 National Technology Leadership Summit Educational Leadership Award for their work. Today, more than 1,000 high school and college computer science teachers use Snap! in their classrooms, and UC Berkeley's introductory course "The Beauty and Joy of Computing" is built on it.
We have created our own variation called Startr Snap!, with custom libraries designed for robotics and AI integration. It runs at snap.startr.cloud.
The TuneScope music library, developed by Glen Bull, a professor at the University of Virginia's School of Education, and Jo Watts alongside lead developer Eric Stein, a researcher in the Department of Computer Science working under the direction of Rich Nguyen, extends Snap! with sampled instruments (piano, guitar, drums) and music-specific blocks. TuneScope was officially incorporated into Snap! 8.0 and serves as the basis for EDIS 2200, an elective in UVA's Bachelor of Arts in Computer Science program.
Course Outline
The goal is to help people express their creativity and explore the arts through coding. Each lesson builds on the previous one. Work through them in order.
- Lesson 0: Introduction to Snap! Programming – Orient yourself with the Snap! platform and build your first script.
- Lesson 1: Snap! Sound Basics – Play notes, control pitch, and create simple tunes with Snap!'s sound blocks.
- Lesson 2: Coding a Simple Snap! Melody – Use loops and sequences to compose your first coded melody.
- Lesson 3: Coding Rhythm and Beats in Snap! – Program timing, rhythm patterns, and basic drum beats.
- Lesson 4: Introduction to TuneScope – Transition to TuneScope for richer instruments and realistic sounds.
- Lesson 5: Adding Randomness to Music – Introduce random variation to make compositions unpredictable.
- Lesson 6: Algorithmic Melody Patterns – Generate melodies with simple algorithms and rule sets.
- Lesson 7: Advanced Melody Generation with TuneScope – Create complex tunes using TuneScope's expanded features.
- Lesson 8: Rhythm and Harmony in TuneScope – Combine drums, chords, and concurrent sounds for depth.
- Lesson 9: Structuring Your Composition – Organize music into sections (intro, chorus, bridge) and balance structure with randomness.
- Lesson 10: Final Project – Generative Music Album – Build a complete generative soundtrack using everything you have learned.
Lesson 0: Introduction to Snap! Programming
Goal: Get oriented with the Startr Snap! platform and build your first block-based script. Don't worry if you're new to programming - we'll take it one step at a time.
Hands-on work:
Create a Startr Snap! Account. Go to Startr Snap! and sign up.
- Click the Join button in the top right corner.
- Fill in the required information to create your account.
- If you already have an account, click Login instead.
- To start without an account, click the Run Snap! button in the top left corner. Your work will not be saved online, but you can save it to your computer.
Explore the Workspace. Snap! is a block-based language: you build scripts by dragging blocks together.
- Grab the
Move 10 Stepsblock from the Code Block Palette on the left side and drag it to the Script Area in the center. - Choose another block, such as
turn clockwise 15 degrees, and snap it below the first. You now have a two-block script. - Click the group of blocks to run it. Watch the Stage (top right) to see the sprite move and turn. Click again to repeat.
Discover the Menus. The top left corner of the screen contains several menus.
- Startr Snap! Icon: Access the Snap! reference manual, the Berkeley Snap! website, and the source code on GitHub.
- File Menu: Find Save, Open, and Libraries. Browse the Libraries to see what is available, but do not import anything yet. TuneScope will be imported in Lesson 4.
- Cloud Icon: Log into your account to save work online and access it from any device.
- Gear Icon (Settings): Change the language, enlarge blocks for readability, and enable JavaScript Extensions, which is required for the musical features in later lessons.
Navigate the Toolbar. The top right side of the screen contains control icons.
- Footsteps Icon: Click to enable step-by-step highlighting. Each block will light up as it executes. Test this with the script you built.
- Speed Control: The toggle to the right of the Footsteps icon adjusts execution speed. Slide left to slow down, right to speed up.
- Stage Size Icons: The rectangle-in-rectangle icon and the diagonal-arrow icon both resize the stage. Experiment with both.
- Script Control Buttons: The green flag, yellow pause button, and red stop sign control script execution. They require a trigger block to work. Go to the Control tab (gold-colored) in the Code Block Palette, drag the
when (green flag) clickedblock to the top of your script, and click the green flag to run it. - Saving Your Work: Practice saving and opening your code before moving on. Web versions of Snap! do not autosave at the moment.
You now know where to find the main features and tools! The next step is to turn this visual coding environment into a musical instrument.
Lesson 1: Snap! Sound Basics
Objective: Explore Snap!'s sound blocks to play notes and control pitch. This is the foundation for everything that follows.
Practice:
Find the Sound Blocks. Open Startr Snap! and select the Sound tab in the Code Block Palette.
- Drag out the
play note (60) for (0.5) beatsblock and click it. You will hear a tone. - The first number (60) represents the pitch. In standard MIDI notation, 60 is middle C (also called C4).
- Click the down arrow next to the number to reveal a piano keyboard showing which note is selected.
Experiment with Pitch. Change the note number or click a different key on the piano keyboard. Lower numbers produce lower pitches; higher numbers produce higher pitches.
Build a Simple Scale. Duplicate the block several times (right-click and select "duplicate," or drag new blocks from the Sound tab). Set the notes to:
- 60 (C4)
- 62 (D4)
- 64 (E4)
- 65 (F4)
- 67 (G4)
Click the stack to play all five notes in sequence. You have coded your first musical creation: a five-note ascending scale.
Adjust the Tempo. Find the set tempo to (60) bpm block. BPM stands for beats per minute, the standard measure of musical speed.
- Set it to 120 bpm and replay your scale. Notice the difference.
- Try 30 bpm. The same notes feel entirely different at a slower tempo.
- Insert a second tempo block between notes to change speed mid-sequence.
Change the Instrument. Find the set instrument to (1) block. Change the instrument number and replay your notes to hear the difference.
- Instrument 1: Sine wave
- Instrument 2: Square wave
- Instrument 3: Sawtooth wave
- Instrument 4: Triangle wave
Snap!'s built-in instruments are limited to these synthesized waveforms. TuneScope, introduced in Lesson 4, provides sampled instruments with more realistic sound.
What you have accomplished is significant: you used code to create a sequence of musical notes, exactly as a composer arranges them on a staff. The difference is that your instructions are executable. The computer plays them back precisely as written, every time.
Experiment further with different note sequences, durations, and tempos. Modify the "for _ beats" value in each note block to change how long each note sustains. Keep any sequences you like. You will reuse them.
Coding a Simple Snap! Melody
Focus: Use loops and sequences to compose melodies. Loops let you repeat patterns without duplicating blocks, and structural repetition is the foundation of song form.
Activities:
Compose a Short Tune. Think of a simple melody (the first line of "Twinkle Twinkle Little Star," or a few notes from a song you know) and arrange play note blocks to play it. Even 4 to 8 notes are enough. Play the sequence and adjust the note numbers until the tune sounds right.
Three short sequences to try. See if you can recognize the songs:
- 60, 60, 67, 67, 69, 69, 67, 67
- 64, 62, 60, 62, 64, 64, 64, 64
- 63, 59, 66, 59, 63, 59, 66, 59
Loop a Motif. Most songs repeat. Instead of duplicating blocks, use a loop. Snap! provides a repeat (10) { ... } block and a forever { ... } block. (The for each block will appear in a later lesson.)
- Choose 2 to 4 notes from your melody and place them inside a
repeatblock. - Set the repeat count to 4.
- Run the loop. The motif plays four times with a single click.
- Try varying the repeat count, the notes, or the duration. Listen for what sounds musical.
Build an A-B-A Structure. Song form often follows a pattern: verse, chorus, verse. This is called A-B-A structure.
- Your looped melody is the "A" section.
- Compose a new 4-note motif for the "B" section (a contrasting phrase).
- Play A, then B, then A again, using the scripts manually.
You have just created a structured composition. Later lessons will automate the structure, but the principle is the same at every scale: define sections, order them, repeat.
Further Exploration:
- Extend the melody with more notes.
- Add pauses using
wait ( ) secsorrest for ( ) beatsblocks. - Try different note combinations and listen for patterns you find interesting.
Keep your best melody code. You will build on it in later lessons.
Rhythm and Beats in Snap!
Objective: Control timing and create rhythmic patterns. Music is defined as much by when notes are played and for how long as by which notes are chosen.
Steps:
Understand Beat Duration. In the play note ( ) for ( ) beats block, one beat typically equals a quarter note. Retrieve your melody from the previous lesson and listen to it.
- Change all beat values to 0.5 (eighth notes) and replay. The melody speeds up.
- Change them to 2 (half notes). The same sequence stretches out.
- Try non-standard values like 0.25 or 1.5. Asymmetric durations create rhythmic interest.
Create a Simple Drum Beat. Snap!'s synthesized instruments can approximate percussion. Set the instrument to 3 (sawtooth wave) and use pitch to distinguish drum sounds.
- Start a new script stack with a
set tempo to (90) bpmblock and aset instrument to (3)block. - Add two play blocks inside a
forever { }loop:play note 28 for 0.5 beats(low pitch: bass drum)play note 50 for 0.5 beats(high pitch: snare)
- Run the loop. The alternating low-high pattern produces a basic "boom-chak" beat.
- Adjust the tempo to 120 bpm for a faster feel, or 60 bpm for a slower groove.
Synchronize Melody and Rhythm. Try running your A-B-A melody and the drum beat simultaneously. With basic sound blocks, the two scripts may drift out of sync. This timing limitation is one of the reasons Lesson 4 introduces TuneScope.
Try Different Patterns. Move beyond a simple alternating beat. Try a more complex pattern using rest for ( ) beats blocks to create pauses:
play note 28 for 1 beatsrest for 0.5play note 28 for 0.5 beatsplay note 50 for 1 beatsplay note 50 for 1 beats
Loop this sequence and listen. You have built a coded drum machine.
Rhythm is what makes music feel alive. The same melody takes on a completely different character when you change its rhythmic pattern. This principle will become central when you begin generating compositions algorithmically: a single melodic rule combined with rhythmic variation can produce an enormous range of musical output.
Introducing TuneScope
TuneScope, developed at the University of Virginia by Glen Bull, Jo Watts, and lead developer Eric Stein, is a library for Snap! that replaces the basic synthesized waveforms with sampled instruments recorded from real pianos, guitars, drums, and orchestral instruments. It also introduces music-specific notation for notes and durations.
Getting started:
Set Up TuneScope. TuneScope is available as a library in Startr Snap!.
- Click the File menu icon, then Libraries.
- Find and select the TuneScope library.
- Click Import. New blocks will appear in a Music category alongside the standard Sound blocks.
- In the Music tab, find and click the Initialize TuneScope block. The library takes a few seconds to load its instrument samples.
Sample New Instruments. With TuneScope initialized, find the set instrument to "piano" block.
- Click the dropdown arrow beside "piano" to reveal instrument families: Brass, Strings, Woodwinds, Drums, Other. Each family contains individual instruments.
- Select piano. Find the
Play note for Duration and waitblock, set it to C4 at quarter-note duration, and play it. Compare the sound to Snap!'s default sine-wave note. The difference is immediately audible: TuneScope's sampled piano sounds like a real instrument. - Try guitar, violin, or flute. You are building a sound palette for your compositions.
Recreate Your Scale. Rebuild the five-note scale from Lesson 1 using TuneScope blocks. The notation is slightly different: where Snap!'s basic blocks use MIDI numbers (60, 62, 64, 65, 67), TuneScope uses musical note names (C4, D4, E4, F4, G4). The letters are standard musical notation; the number indicates the octave. C3 sounds one octave lower than C4, and C5 sounds one octave higher.
- Place five
Play note for Duration and waitblocks and set them to C4, D4, E4, F4, G4, each at quarter-note duration. - Play the script. To change speed, either switch to eighth or sixteenth notes, or add a
set tempo to ( ) bpmblock from the Sound tab at the top of your script.
Note the Differences. TuneScope changes three things compared to Snap!'s basic sound blocks:
- Instruments are sampled from real recordings, not synthesized from waveforms.
- Notes use standard musical letter names rather than MIDI numbers.
- Durations use musical terms (quarter note, half note), though numeric beats also work.
Recreate Your Melody. Rebuild your Lesson 2 melody using TuneScope blocks. The "Twinkle Twinkle Little Star" sequence translates from MIDI (60, 60, 67, 67, 69, 69, 67, 67) to TuneScope notation (C4, C4, G4, G4, A4, A4, G4, G4), with each note at quarter-note duration.
- Add a
repeatblock from the Control tab to loop a section. - Try different instruments, tempos, or note combinations. The Rest block and Chord block are worth exploring.
- For an additional challenge, compose an A-B-A structure with percussive rhythm added.
With TuneScope, you have moved into a more capable music coding environment. The new blocks may feel unfamiliar, but every concept from the first three lessons still applies. The difference is that TuneScope gives you the sound quality to make compositions worth listening to. The transition from synthesized waveforms to sampled instruments is the same transition that professional music production made in the 1980s, and it opens the same creative possibilities.